Moving, downsizing, or renovating? A storage unit can be your best friend during times of transition. But before you start hauling boxes, you need a game plan.
Knowing what to store first and what to leave out entirely can save you time, money, and major headaches down the road. The key is prioritizing items you won’t need immediately while keeping safety and preservation in mind.
Let’s break down exactly what belongs in storage and what doesn’t.
What to Put in Storage First (Long-Term/Low Access Items)
Start with the things you can live without for weeks or months. These are items that won’t disrupt your daily routine but still hold value for the future.
Seasonal Items
Out-of-season belongings are prime candidates for storage. Holiday decorations, winter coats during summer, patio furniture in the off-season, or snow gear when it’s warm, these items take up valuable space at home but won’t be missed until the season changes.
Pack these items carefully in labeled bins so you can easily retrieve them when needed. Climate-controlled units work best for delicate decorations or fabrics that might be affected by temperature swings.
Furniture
Moving into a smaller space? Not ready to part with that couch or dining set? Furniture is one of the most common items stored during a move or transition period.
Disassemble larger pieces, such as bed frames, tables, and shelving units, to maximize space. Wrap them in blankets or plastic covers to protect against dust and scratches. Avoid stacking too much weight on delicate items like glass tabletops or antique wood.
Large Appliances
If your new place already has a fridge, washer, or dryer, storing your extras makes sense, especially if you plan to use them again. Before storing any appliance, clean it thoroughly and make sure it’s completely dry. Leave doors slightly ajar to prevent mold or mildew from forming inside.
For appliances with motors or fuel tanks (like lawnmowers or generators), drain all fluids before storage to avoid leaks or fire hazards.
Media and Records
Books, magazines, old photo albums, and archived files are low-priority items that can easily be stored. Just make sure everything is packed in sturdy, waterproof bins to protect against moisture. Cardboard boxes can attract pests and break down over time, so plastic is your safer bet.
If you’re storing important records or documents, consider digitizing copies as a backup before placing them in storage.
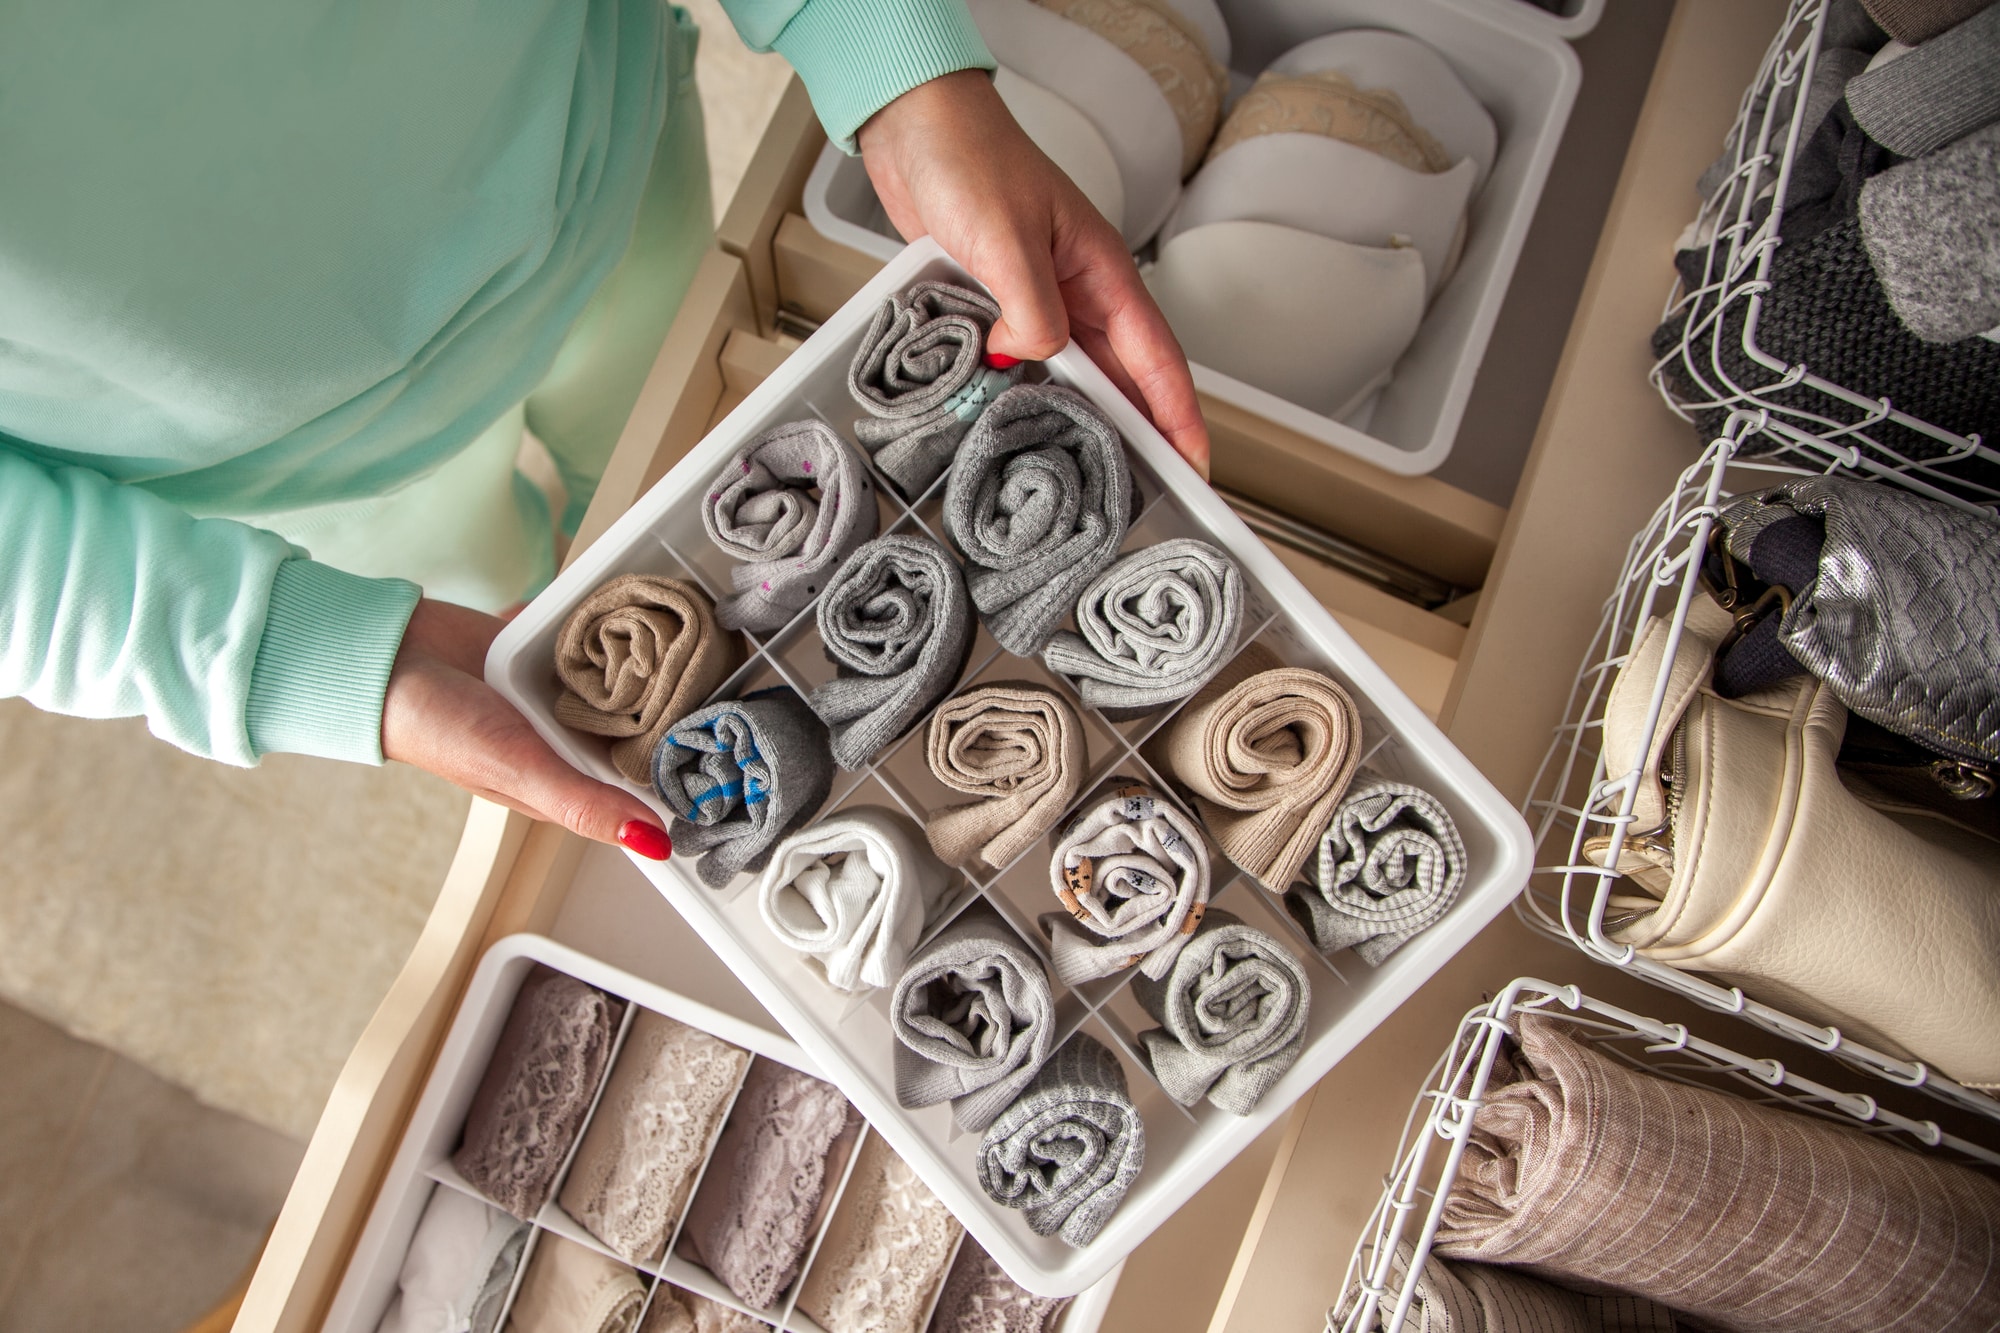
Low-Value Household Goods
Spare kitchenware, extra linens, decorative items, and backup household supplies are perfect for storage. These are things you might need eventually, but don’t require regular access to. Keep them organized in clearly labeled containers, so you’re not digging through everything when you finally need that fondue set.
What Should NEVER Go In (Safety Risk)
Not everything is storage-friendly. Some items pose serious safety risks, violate facility policies, or are simply better off elsewhere.
Perishables and Food
Even sealed or canned food is a no-go. Food attracts pests like rodents and insects, which can quickly infest your unit and your neighbors’ units. Once you have a pest problem, it’s nearly impossible to eliminate without significant damage to your belongings.
Moisture from food can also lead to mold growth, creating unpleasant odors and ruining everything nearby. If you’re moving and have pantry items to spare, donate them instead of storing them.
Hazardous and Flammable Items
Gasoline, propane tanks, paint thinner, fireworks, cleaning agents, and other combustible materials are strictly prohibited in storage facilities. These items pose a fire risk and can release toxic fumes, endangering everyone on the property.
If you need to store equipment like a lawnmower or generator, drain all fuel and oil from the tanks first. Most facilities will allow the equipment itself, just not the hazardous substances.
Irreplaceable Items
Cash, jewelry, original artwork, vital documents (like birth certificates or passports), and family heirlooms should never be stored in a public facility. Even with security measures in place, these items are too valuable, both financially and sentimentally, to risk.
Keep these belongings in a fireproof safe at home or in a bank’s safe deposit box. If you absolutely must store something of high value, inform the facility and purchase additional insurance coverage.
Wet or Scented Items
Moisture is one of the biggest threats to stored belongings. Never place damp clothing, wet towels, or anything that hasn’t fully dried into your unit. Even a small amount of moisture can lead to mold and mildew, which can spread quickly and ruin everything around it.
Scented items like candles, soaps, or air fresheners can also attract pests. Insects and rodents are drawn to strong smells, even if the items aren’t edible. Stick to unscented, dry goods whenever possible.
Key Tips for Storing Successfully
Once you know what to store and what to avoid, a few smart strategies can help you make the most of your space and keep everything in great condition.
Use Climate Control for Sensitive Items
Electronics, wooden furniture, artwork, and fabrics are all vulnerable to changes in temperature and humidity. If you’re storing these types of items, investing in a climate-controlled unit is worth it. This feature helps prevent warping, cracking, fading, and mold growth.
Pack Smart with Plastic Bins
Cardboard boxes may seem convenient, but they’re not ideal for long-term storage. They can break down, absorb moisture, and attract pests. Plastic bins with secure lids offer better protection and can be stacked more safely. Avoid overfilling. Heavy boxes are harder to move and more likely to cause damage.
Stack Heaviest Items at the Bottom
Proper stacking is essential for preventing damage. Place your heaviest, most durable items on the bottom and lighter, more fragile items on top. Leave aisles between stacks so you can access items without having to move everything around.
Choose a Reputable, Family-Owned Facility
When selecting a storage provider, look for a company with a strong track record and a commitment to customer service. A reputable, family-owned storage business often provides a more personalized experience, better security, and staff who genuinely care about protecting your belongings.
These businesses have built their reputations over years, sometimes decades, by prioritizing trust, reliability, and community relationships. Take the time to read reviews, visit the facility, and ask about security features, insurance options, and the availability of climate control.
Store Smart, Stay Safe
Storage units offer a practical solution when you need extra space, but they’re not a catch-all for everything you own. By putting non-essential, durable items in first and keeping prohibited or high-risk items out, you’ll protect your belongings and stay compliant with facility rules.
Take the time to pack carefully, label clearly, and choose a storage partner you can trust. With the right approach, your storage experience will be smooth, safe, and stress-free.
Use Experienced, Professional Movers to Help Store Your Items
Crescent Moving & Storage has been in business for over 40 years, providing reliable, timely, and safe moving and storage services for businesses and homeowners in the Vancouver area. Rain or shine, summer or fall, we’re there for you! Find out why so many trust Crescent Moving & Storage to care for their most valuable assets. Contact us for a FREE, no-obligation moving or storage quote.


 Why You Need the Right Moving Tools
  Essential Tips for Moving Into a Rental Property: